This? Is overwhelming!
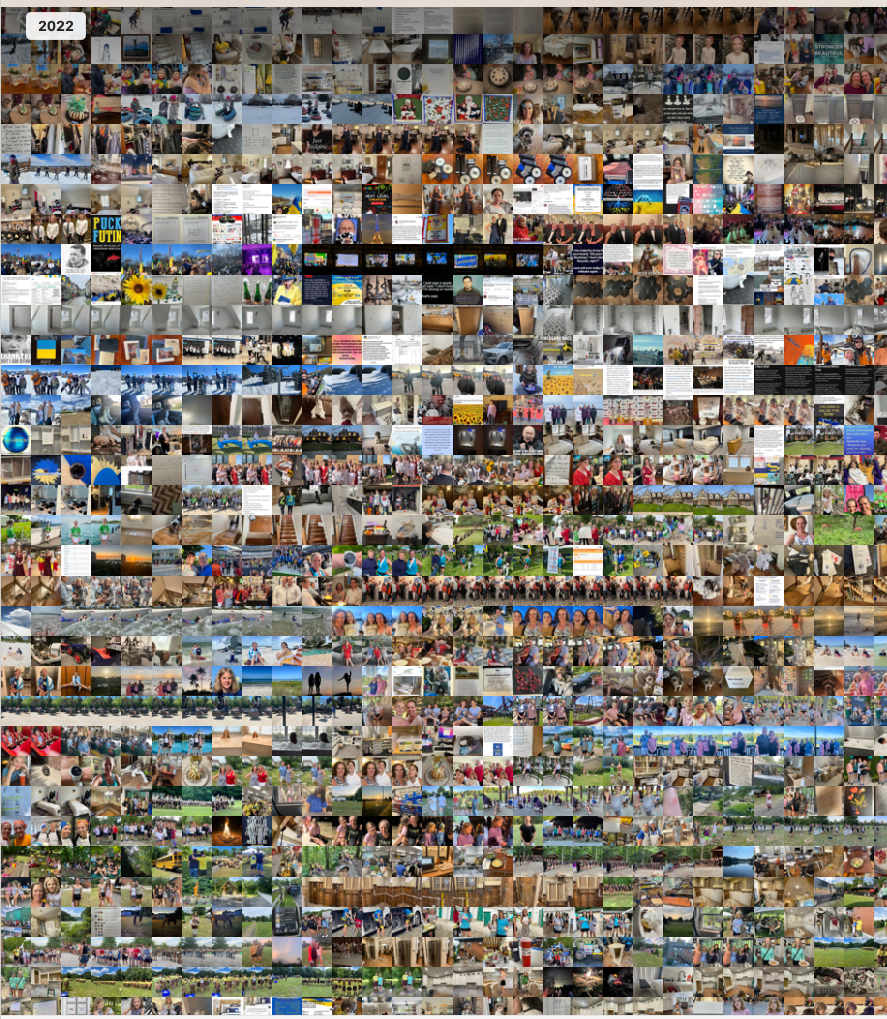
Creating a photobook starts with selecting the photos you would put into your book, and that can be a truly daunting task. If you think about where you keep all your photos, and you think about how many you have taken, it may seem like a better idea to just walk away. Don’t. All you need to do is break it up into smaller, more manageable pieces. And, give yourself realistic expectations that you will not get through this in one sitting.
First, pick a device to look through your pictures. Nowadays, most of our current photos are on our phones. And, in a lot of families, there is usually one primary photo taker. So, start with that person’s phone. In my household, that is me. And lucky for me, I always have access to my phone, my iCloud account, and my Apple Photos. Once I get into my photos account, I use the ‘heart’ function to select my favorite photos. To choose a photo as a favorite, I ask a simple question “Is it bookworthy?” If I would consider placing it into a photo book, then I heart it.
When thinking about which photos to favorite, think to yourself, “Is this book worthy?”
Once you have selected the photos you would want in your book, then it’s a good idea to see if they need any editing. Sometimes, a simple tweak in the light level can make a picture really pop. Although some of the photobook programs offer simple editing, it’s better to edit the photo before uploading it into a photobook program.
I personally like to have complete control in my page layouts, so I export my photos out of Apple Photos and into my favorite publishing software. A new favorite of mine is mPix. They offer great options on cover types and papers, print in a layflat format, and have good sales.

Selecting the photos always seems to be the most daunting task to me, so once that is out of the way, it’s smooth sailing and you will be ready to upload your photos and start designing your book. Some programs offer an autofill option. If you are pressed for time and not particular about customization, this is a good option for you. Because I like complete control of my books, I choose to place them myself. It’s a lengthier process, but I end up with a book that is exactly the way I want it, with exactly the right pictures blown up, shrunk, cropped, and, in the right order.
It’s hard to start, but once it’s done, it’s totally worth it.

example of mPix products
From start to finish, making a photobook can be a long and time-consuming project. But, it doesn’t have to be a dreaded project.
Take it one step at a time. Do a little bit every day or every week. It’s kind of like starting a work-out… you dread doing it, but feel so much better afterwards. So, if you break it apart into smaller pieces, you can do it, and you’ll thank yourself later.
Sign up for our mailing list for photo book tips, organizing tricks, and all sorts of other fun and useful content.